•
Blog

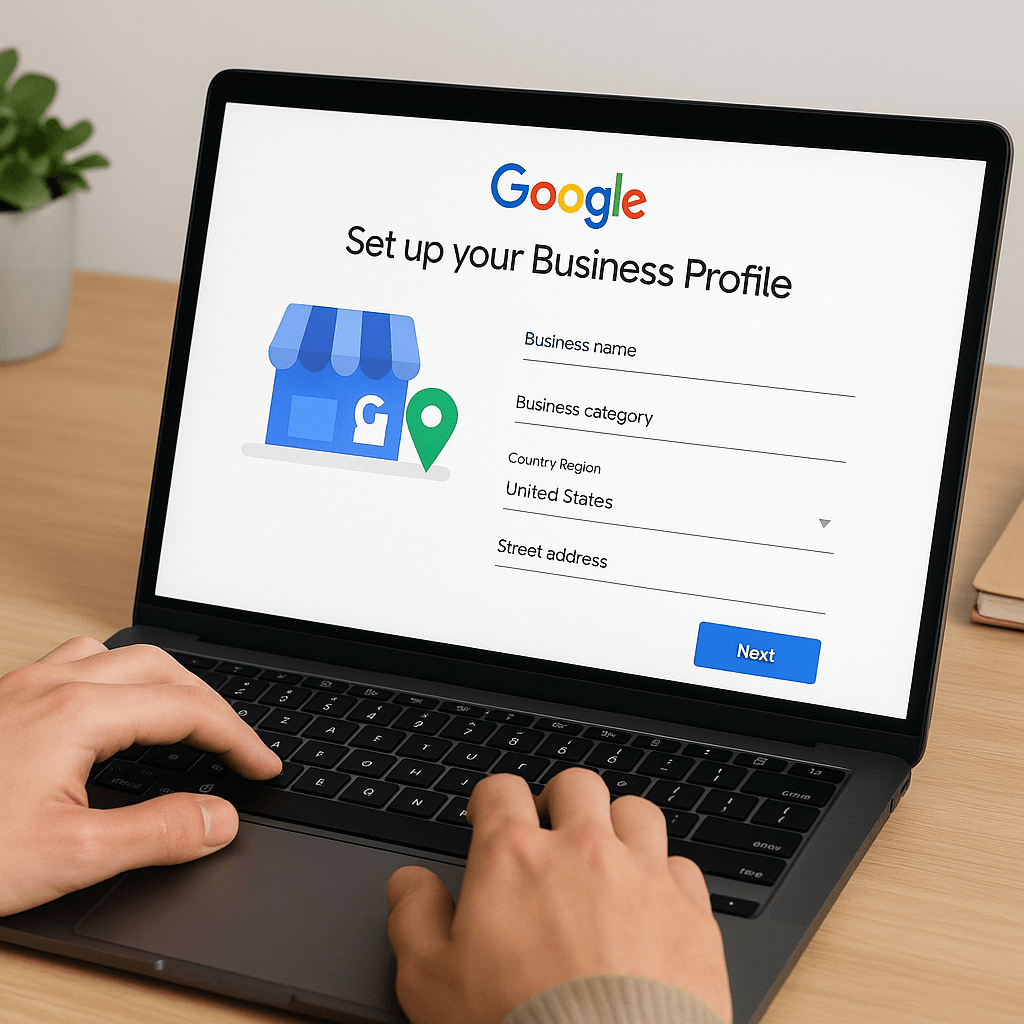
Want to show up first when local customers search for services like yours? It all starts with a complete and verified Google Business Profile. Whether you run a junk removal business, a landscaping company, or a home services brand, your profile is often the first thing people see. It can be the difference between getting chosen or getting overlooked.
In this guide, we’ll walk you through each step to set up your profile the right way. From claiming your listing to adding photos and verifying your business, these steps will help you get found in local search, build trust with potential customers, and turn online visibility into real leads.
7 Essential Steps to Set Up your Google Business Profile
Step 1: Create or Claim your profile
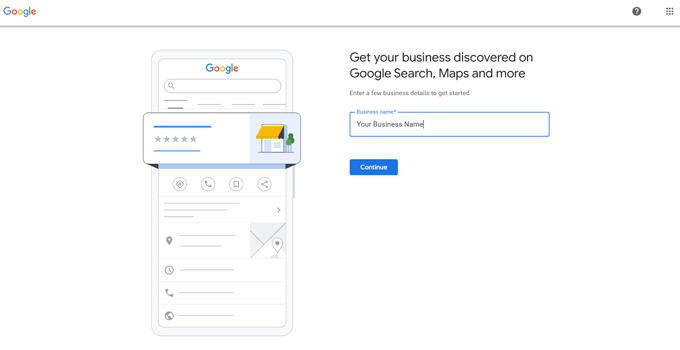
Visit google.com/business and click “Start now.” Sign in with a Google account associated with your business (avoid using a personal Gmail).
Then: Enter Your Business Name. You’ll be prompted to add your exact business name — make sure it matches the name used on your website, signage, and other listings. This consistency builds trust with both Google and customers.
Don’t stuff keywords (e.g., avoid “John’s Plumbing Best Toronto Emergency Plumber”). Use just your real-world name — you can highlight services in other sections.
If your business has existed for a while, Google may have already created a listing. In that case, search for it on Google Maps and click “Claim this business.”
Tip: Use a professional business email address (e.g., info@yourbusiness.com) to manage your profile. It looks more credible to Google — and to your customers.
Step 2: Choose your business type and category
You’ll be prompted to choose from three business types:
-
Online retail
-
Local store
-
Service-based business
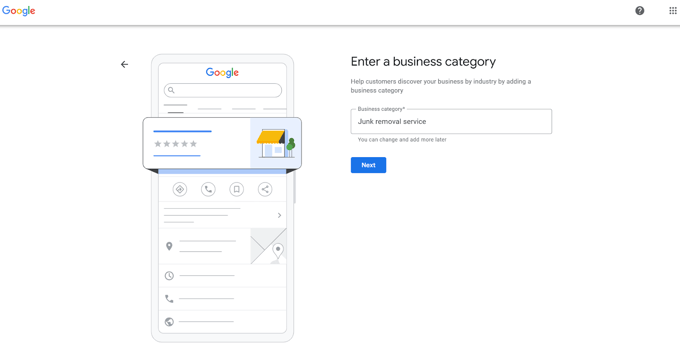
Then, select your primary business category (e.g., Junk Removal Service, HVAC Contractor, Lawn Care Service). You can add additional categories later.
Be specific. Your category directly impacts where you show up in local search.
Example: “Plumber” will perform better than “Home Services.”
Step 3: Choose your location for your business
If your business serves customers at their location, enter the cities or towns you actually serve, not broad regions.
Example: Choose “Clinton, NJ” and “Flemington, NJ” — not “New Jersey” or “East Coast.”
Google may not show your listing if it detects unrealistic service areas (especially if they require long drives). Keep it local and honest.
Step 4: Add contact details for your customers
Enter your:
-
Business phone number
-
Website URL
This info appears prominently in search and maps results. It’s how customers will call, visit, or message you.
No website?
NiceJob Websites are built to convert ,and can increase your leads by 10% in just 3 months.
Start Now
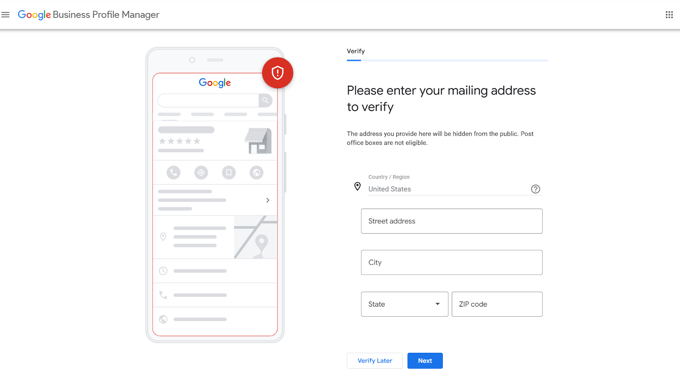
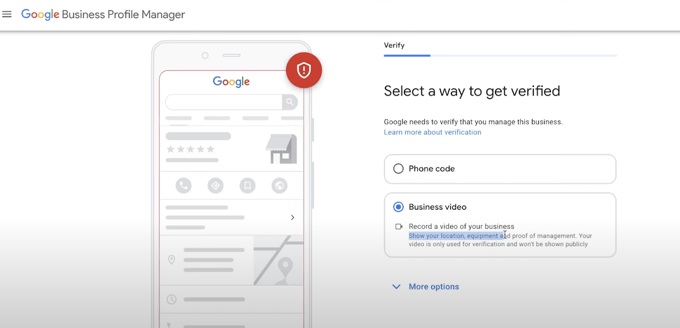
Step 5: Verify your business
Google requires verification before your profile goes live. You may be able to verify via:
-
Postcard (most common)
-
Text message or Phone call
-
Video call verification
-
Email (for some business types)
Want to see how Google explains verification?
Watch Google’s official video on Business Profile verification. It covers what to expect, how long it takes, and the different methods available, straight from the source.
How long does verification take?
Even with phone or video verification, the process takes a little time. Once you’ve completed your part, Google typically confirms verification within about a week. You’ll receive a notification once your business is verified. If additional steps are needed, the “Get verified” button will appear again, giving you the opportunity to try a different method.
Connect your website to Google Search Console and Google Analytics for added trust and insights. Businesses with a consistent online presence — including Search Console and Analytics — often get faster verification.
Now you’re all set with the knowledge you need to claim and verify your Google Business Profile.
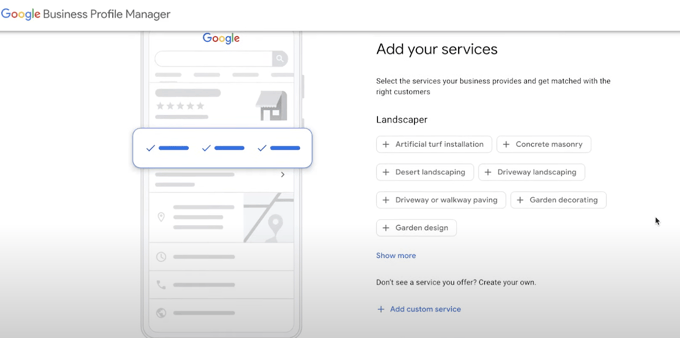
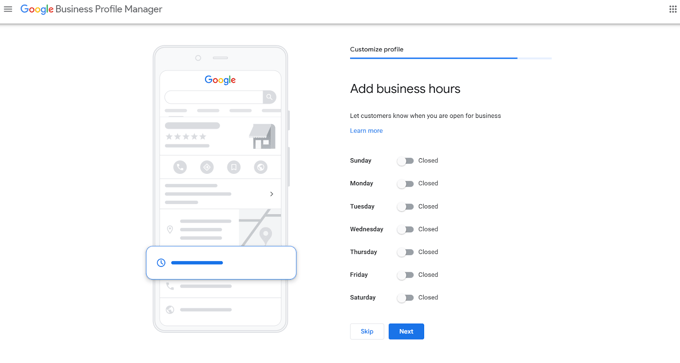
Step 6: Add services and business hours
Choose all the services you offer — these act as keywords and help customers find you. You can also create custom services if your offerings aren’t listed.
Then, add your business hours, including holidays or seasonal availability. Accurate hours improve trust. Google may display your listing as “Closed” if your hours aren’t updated — potentially losing you leads.
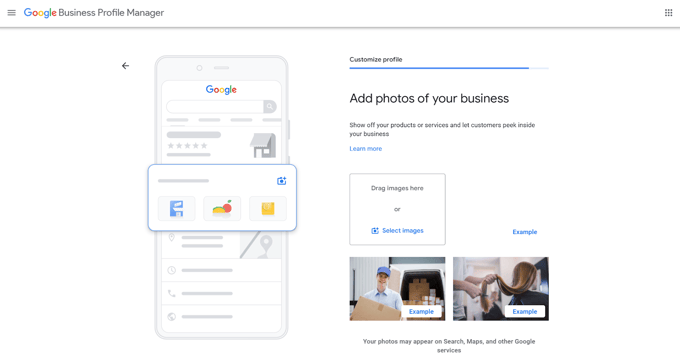
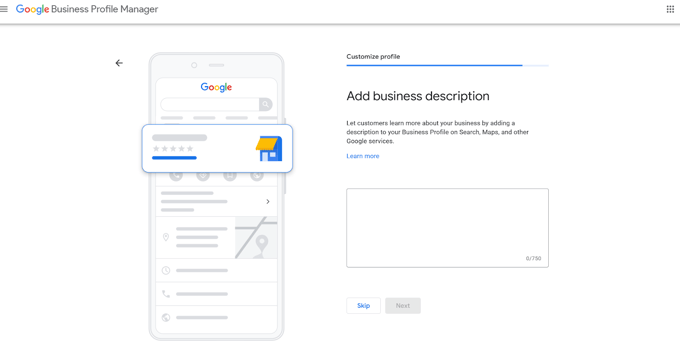
Step 7: Write your business description & upload photos
Craft a short, friendly description that highlights:
-
Your location or service area
-
What makes you different
-
The value you bring
Then, upload photos of your:
-
Team in action
-
Equipment or storefront
-
Completed work
-
Logo and cover image
Listings with photos get 35% more clicks and are viewed as twice as reputable. Don’t forget your logo and a strong cover photo to make your profile stand out.
Once your profile is set up, it’s time to optimize it — with reviews, updates, posts, and integrations. That’s where tools like NiceJob help you turn your Google profile into a lead-generating engine.
Want to grow your business with less manual effort?
Try NiceJob free for 14 days and start turning profile views into paying customers.
Get Started Today.png)
What to Do After You Set Up Your Google Business Profile
Setting up your Google Business Profile is a strong first step, but keeping it active is what drives real results. Profiles that are regularly updated and supported by fresh reviews are more likely to rank higher in search and convert visitors into customers. To stay ahead of competitors, your profile needs ongoing attention and the right tools behind it.
Here’s how to keep your profile working for you:
-
Collect and respond to reviews to build trust and show responsiveness
-
Keep your hours, contact info, and service areas up to date so customers always have accurate information
-
Post updates, offers, and photos to show you're active and engaged
-
Use high-quality visuals to make a strong first impression
-
Track performance with insights to see what’s working and adjust your strategy
NiceJob helps automate many of these steps so you can stay focused on running your business. From review collection to photo galleries and website syncing, it’s everything you need to turn your profile into a lead-generating machine.
Your step-by-step path to better visibility starts here
Everything you need to set up your Google Business Profile the right way—from start to finish.
Learn More