Benefits of Facebook Reviews & Why Facebook Reviews Are Important
One of the best ways to increase sales is to turn your customers into brand advocates.
These are people who share a positive experience they had with your business to their networks.
One of the ways brand advocates can vouch for your business is through reviews.
And if you use NiceJob, you already know that reviews are like word-of-mouth, but 1000x more powerful. Instead of spreading the word person by person, a review spreads the word to the world.
In this article we’re going to focus on Facebook reviews and explain why they are a powerful (and underused) tool for your business. We’ll also go over why, during the 2020 COVID-19 crisis, you should be focussing on Facebook reviews.
Why Facebook reviews are a powerful tool for your small business
1. A Facebook review can be seen by the reviewer’s entire network:
When someone reviews your business on Facebook it shows up on your business page, but how else do these powerful recommendations propel your business?
The biggest benefit of earning a Facebook recommendation is that the reviewer’s entire network can see that they recommend your business.
It’s a public declaration saying that “I trust this business, they do good work, and you should hire them too.”
2. Facebook reviews target your best customers:
Another reason why Facebook reviews are so powerful is because they can help you reach new potential customers.
For anyone searching for a business (which ⅔ people do once a week) relevant reviews will appear. This means if any of their friends have left a recommendation for your business it will be shown most prominently.
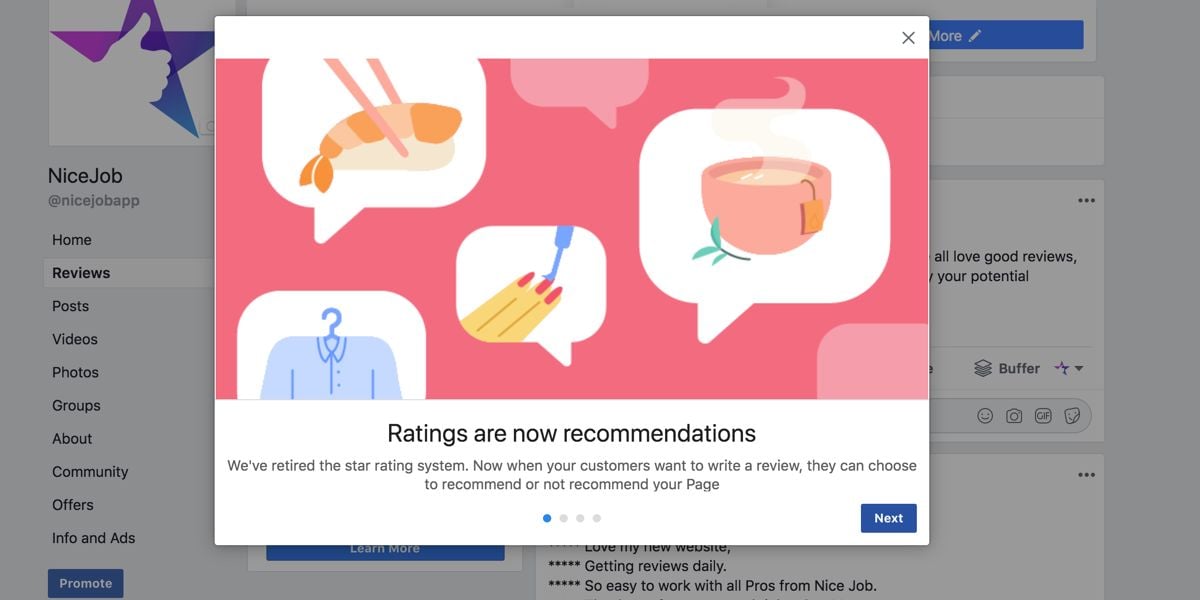
“Recommendations appear on your page and are discoverable across Facebook when people are searching for, or talking about your business. Because we know that people trust the opinions of those they know most, these Recommendations will be surfaced most prominently.” ~Facebook.com
There’s a good chance that if I was searching for your business and saw that my friend had recommended your company that I would:
A) share similar demographics and psychographics as my friend, so I would also likely make for a new potential customer.
and B) that I would be more likely to hire your company because I can see that my friend has already used your services, trusts your business and had a great experience.
This means for every new Facebook Recommendation your business receives, you are immediately going to reach new potential customers with every one of their friends who sees that review.
Why focus on Facebook reviews during the Coronavirus pandemic?
As a result of the Coronavirus, people are staying inside, spending less money and they’re less trusting of others.
This results in three main factors to take into consideration when focussing your review generation efforts:
- Searches for your type of service are likely down
- Trust is at an all time low
- People are more likely to be active on social media
This makes collecting reviews on Facebook an excellent platform to focus on at this time, and here’s why:
Facebook Recommendations will be seen by more people
With more people spending more time on social media, and with Facebook being the largest social media platform out there, more people than ever are likely to see Facebook reviews.
Extra eyes on Facebook reviews means, when people are ready to start making purchasing decisions again, they will be more likely to go with a business they’ve seen recently with positive reviews.
Use Facebook Recommendations to start conversations and increase their visibility
Since Facebook reviews are posts, they can be commented on.
Anytime someone leaves a Facebook recommendation for your business be sure to respond. You can ask questions, give thanks, add a reaction or tag others. Conversations are even easier to start if the review has a photo attached to it!
This will trigger the Facebook algorithm to show your reviews to more people.
At a time when trust is low, Facebook reviews can signify credibility
Reviews collected at any point in time will help establish credibility and trust. This is especially true, however, during a time like the present Coronavirus pandemic.
People trust those they are close with, so consider any Facebook review left for your business during this time as a beacon telling others to trust your company.
It’s an incredibly valuable and powerful tool, which will help potential customers make purchasing decisions in favour of your business.
Facebook Recommendations can have pictures, which adds more trust
Did you know Facebook reviews can have pictures posted with them?
It’s great! A picture attached to a review gives others a visual component to see what the review is describing. This immediately bolsters trust among potential customers.
What would be better during the Coronavirus outbreak would be to use photos that showcase any additional safety measures your business is taking, or any altered or adapted operations or services.
If you are using NiceJob, you can attach photos to your reviews through the app.
How to ask for Facebook reviews
The best time to ask someone to leave you a review on any platform is at the moment of peak excitement. This is when you’ve just served them, and they’re the most satisfied and happy with your service as they’re ever going to be.
During the Coronavirus outbreak, you could also approach previous clients to see if (while they have spare time) they are willing to retroactively leave a review for your business. At this time, people are keen to support small businesses, and leaving a review is one way to do that.
It’s important to make it easy for people to leave your business a review, so be sure to use automated review collection software like NiceJob to do this for you.
Sharing your reviews on social media
If you use NiceJob, you can automatically share your best reviews to your Facebook business page and other social media networks.
If you are not using NiceJob (yet😉) you can always take the content of the reviews left on any other major review site and share them to Facebook. It won’t be in the form of a “Facebook Recommendation”, but it will be seen by people who follow your Facebook page and some of the friends of people who like it.
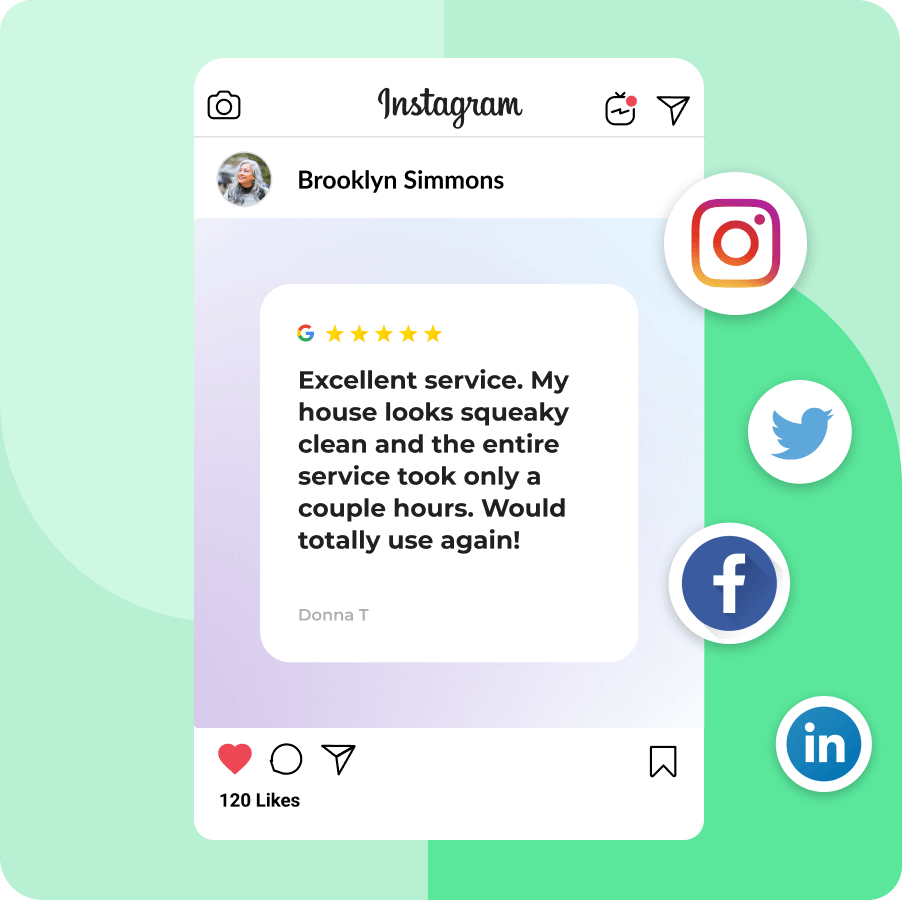
You can also use content from your reviews in your ads and images for social media like this:


If you need help figuring out how to engage with potential customers on social media, we can help with that too:
How to build a social media presence that will impress your customers
And if you need help figuring out how to design your posts or share reviews to additional platforms like Instagram, check this out:
The best ways to share reviews that will make you look like a pro
Please see our Coronavirus blog is you would like more small business solutions at this time.
Good luck!
Turn your positive reviews into your best marketing assets!
NiceJob’s set-and-forget review software automatically gets you reviews and shares them on Facebook, Instagram, and more so you can become top rated.
See how it works
Strength in community during COVID-19
What we’ve seen is the greatest strength in uncertain times comes from the people within our communities.
If you are looking for more resources during the Coronavirus outbreak, we invite you to join our community of entrepreneurs.
Our goal is to provide helpful resources and during these challenging times, we are also committed to sharing candid and useful conversations, and lifting one another up as we need it.


